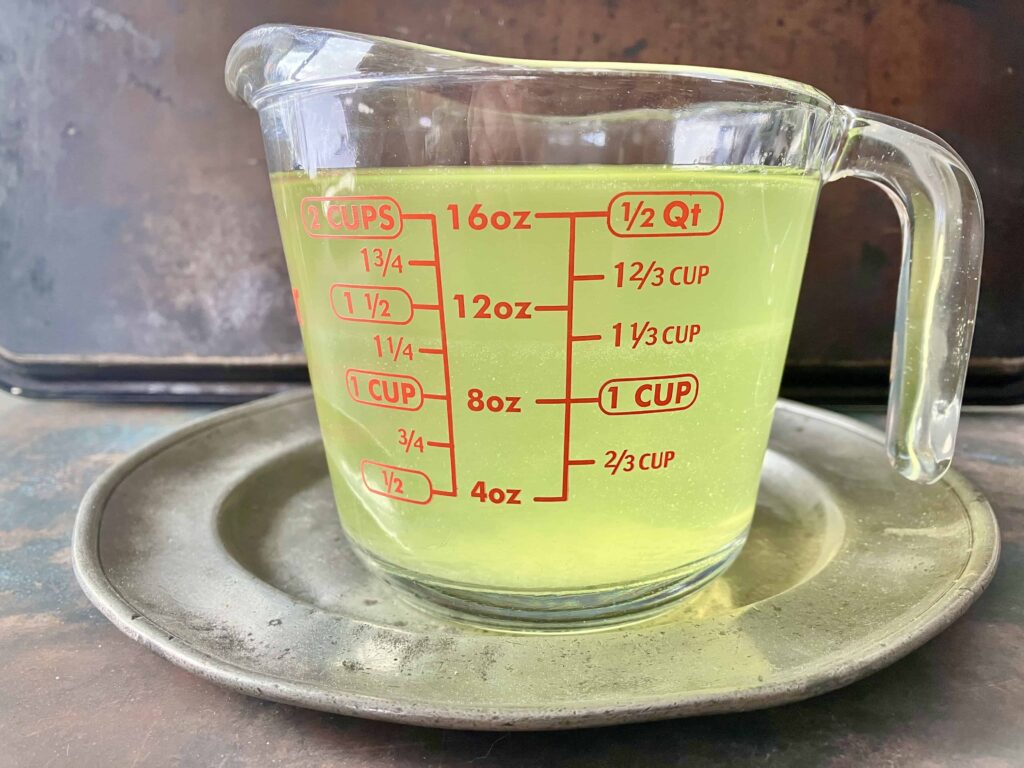
In last month’s column I mentioned my roommate has discovered yogurt-making and the subsequent, luminous introduction of whey to our pantry. When a batch of yogurt is ready, we strain it for a couple of hours in a sieve lined with cheesecloth, resulting in about four cups of thick yogurt and two cups of whey. I’ve fallen in love with this new ingredient.
For those unfamiliar with whey, it is the liquid by-product of cheese or yogurt-making. When rennet or acid is added to heated milk, the proteins in the milk coagulate and separate from the liquid. Once strained, you’re left with a solid mass; and in the bowl, a thin, yellowish liquid. Commercial yogurt eaters will be familiar with this liquid (when a carton has sat in the fridge for a couple of days, the liquid that separates out from the solids is whey).
There is sweet whey, resulting from using rennet to make hard cheeses such as cheddar or Swiss; and acid or sour whey, resulting from making cheeses with lemon juice, vinegar or other acids. Yogurt whey is acidic or sour, but there’s a beautiful, elusive, caramel-y undertone that adds richness to cheese sauces and gravies and becomes more pronounced when the whey is reduced by simmering.
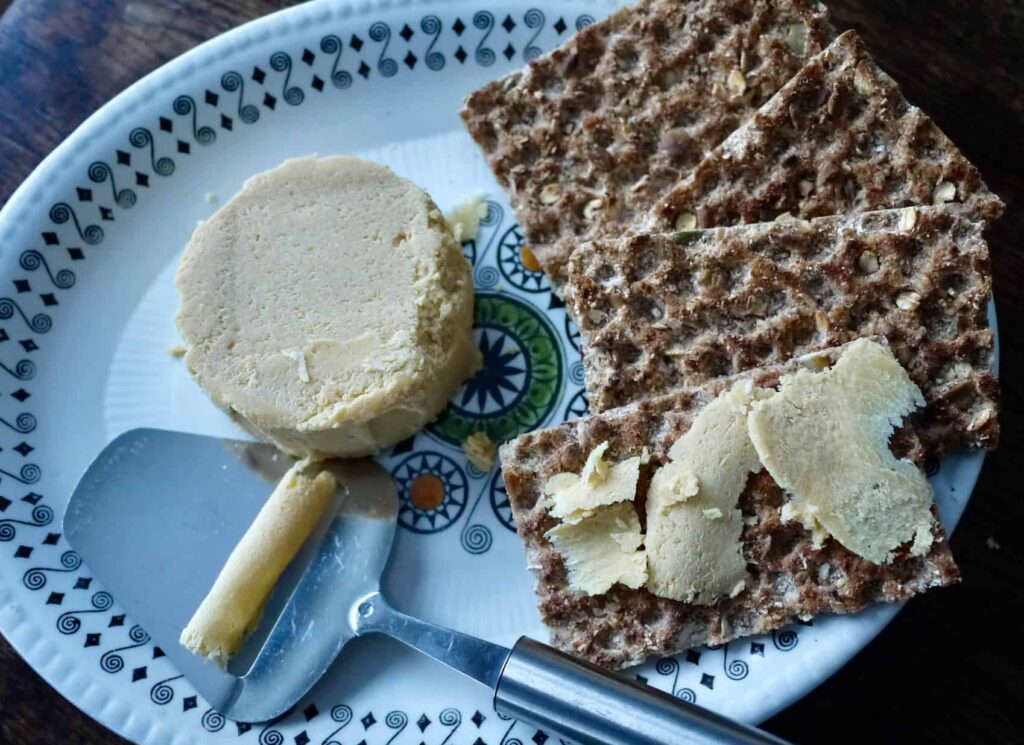
You might have tried the very expensive and delicious Ski Queen Gjetost, a goat’s whey cheese from Norway that is available in our local supermarkets, sometimes, and sometimes at Cultured Fine Cheese in Whitehorse. This is cheese as candy, a cross between fudge and hard cream cheese and utterly beguiling, for some. (My father used to liken Ski Queen to cross-country ski wax.)
Years ago, when Brian Lendrum and Susan Ross were tending goats on the shores of Lake Laberge and making cheese, they kindly gave me a couple of gallons of whey, left over from feta-cheese production, so I could experiment with producing Gjetost at home. After hours of simmering whey in a giant pot set on low heat, I produced a quarter-pound of grainy, Snow Queen-like Gjetost of which I was inordinately proud.
I haven’t tried that since, but I’m wondering what would happen if I froze each batch of whey and, once a gallon had accumulated, experimented again. (Note that since I’d be using cow’s-milk yogurt, I would end up with mysost, not Gjetost.) Meantime, I’m substituting whey for milk, yogurt or buttermilk in baking; and recently, for some of the milk in the cheese sauce for mac ‘n’ cheese, which is brilliant. A tablespoon of whey adds brightness to a stir-fry, and I don’t see any reason not to try it in salad dressing instead of vinegar.
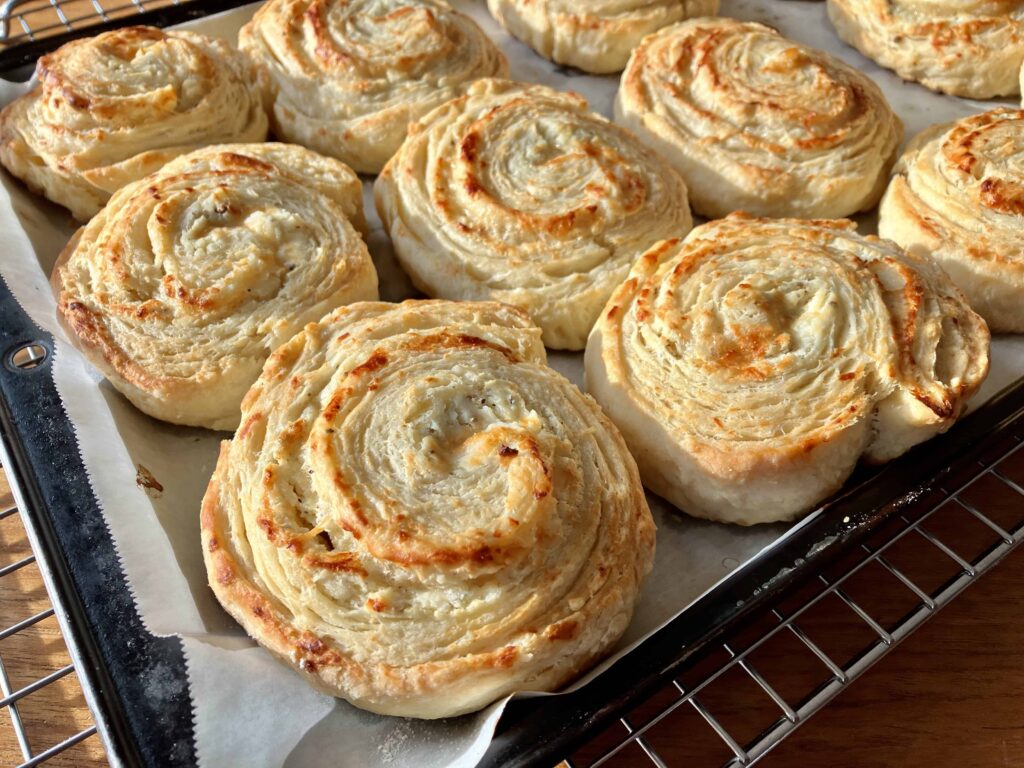
Should you somehow end up with a lot of whey and don’t know what to do with it, there are many helpful articles and tips available online, but for starters, you could make cheesy pinwheel buns.

Cheesy Pinwheel Buns
Ingredients
- Cheese Filling
- 4 ounces cream cheese at room temperature
- 1 Tbsp butter
- 1 tsp juniper berries
- 1 tsp coriander seeds
- 1 1/2 cups finely grated Grana Padano or Parmesan cheese
- *The original recipe calls for 1 tsp coarsely ground pepper; try it, and feel free to experiment with other spices like cumin and cardamom.
- Dough
- INGREDIENTS
- 3 cups all-purpose flour
- 1 Tbsp baking powder
- 1/4 tsp baking soda
- 2 tsp granulated sugar
- 2 tsp kosher salt
- 1/4 tsp freshly-ground black pepper
- 8 oz butter, very cold, cut into 1/2-inch pieces
- 1 cup chilled whey, buttermilk or yogurt
Instructions
Cheese Filling
METHOD
- Coarsely grind juniper berries and coriander seeds in a mortar and pestle or spice grinder.
- Melt butter in a small pot, add seeds and cook for a couple of minutes.
- Remove from heat and cool slightly, then combine with cream cheese in a small bowl.
Dough
METHOD
To make dough: in a large bowl, whisk flour, baking powder, baking soda, sugar, salt and pepper. Scatter in the butter and toss.
- With your fingers, a pastry cutter or two knives, cut in the butter until the pieces are the size of peas.
- Make a well in the center and pour in the whey, buttermilk or yogurt. Stir with a fork to combine. When the dough is close to coming together, mix in the final bits of flour with your hands.
- Lightly flour a counter or a piece of parchment paper. Transfer the dough to the floured surface and form into a rough rectangle of about 10 x 5 inches. Fold into thirds, as you would a letter. Rotate, so the long side is facing you. Cut in half crosswise and stack the two pieces on top of each other.
- Using a rolling pin, gently roll dough into a rectangle and repeat the process above.
- Roll dough into a 9- x 13-inch rectangle. Turn so that the long side is facing you. Spread cream-cheese mixture evenly across the dough, right to the very edges. Sprinkle grated cheese evenly over top.
- Roll dough onto itself lengthwise, into a tight coil. Cut the log into 12 even rounds. Place on a parchment-lined baking sheet, 2 inches apart. If the rounds have gotten squashed in the cutting, press them back into a circle with your fingers. Chill in the freezer for 15 minutes.
- Preheat the oven to 400 F.
- Brush tops of rolls with whey, buttermilk or yogurt. Bake until golden brown, 20 to 25 minutes. Cool before serving. These are best eaten at room temperature for maximum flakiness.
- If you like, freeze unbaked rolls, after brushing them, and bake them straight from frozen at 400 F, but lengthen the cooking time by 7 to 10 minutes.
Tip: When a couple of days old, the buns are great toasted—you might have to slice a bit off the top so they’ll fit in the toaster, though. Once toasted, spread with butter. Best breakfast ever!
